How to Enable and Create a System Restore Point in Windows 10
System Restore in Windows works like a time machine. It enables
the users to undo the changes done in a system. In Windows 10, the feature
System Restore creates a copy of the working state of the computer and save it
as a “restore point.” If something went wrong after installing an app, driver,
update, or after modifying Registry and system settings incorrectly, you can
use the restore point to undo the changes and resolve the issue without losing
any data. Restore point takes your system back to the earlier working stage.

Although System Restore is a useful troubleshooting tool,
because of some odd reasons it is disabled by Windows. So, if you want to create
a restore point of your system, you need to enable it.
How to enable System Restore in your Windows 10 PC
System Restore is disabled by default in Windows 10, but you can
enable it with the below steps:
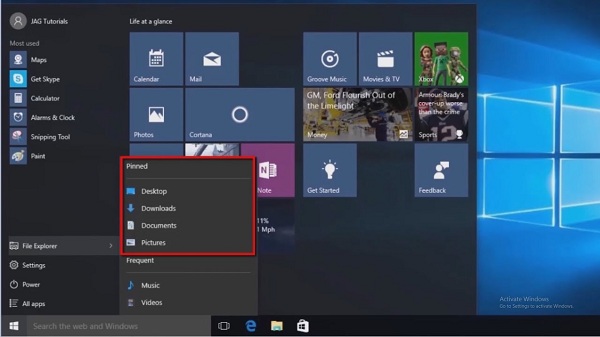
1. Open ‘Start.’
2. Type ‘Create a restore point’ in the search
and hit ‘Enter.’
3. Open the top result to open system
properties.
4. Click the ‘System Protection’ tab to open
it.
5. Select the System drive [Local Disk (C:)]
from the “Protection Settings” box.
6. Click the ‘Configure’ button, just below
the box.
7. Mark the radio button of ‘Turn on system
protection’ under Restore Settings.
8. Move the ‘Max Usage’ slider under “Disk
Space Usage” to set the storage usage.
9. Then click the ‘Apply’ button.
10. And hit ‘OK.’
Once you complete these settings, next time when a new update or
system changes are applied, your system will create a restore point
automatically.
Steps for creating a System Restore point manually in Windows 10
Although, once System Restore is enabled in a computer, it
creates the restore points automatically when any system changes were made.
But, if you’re making any significant modifications in the system and want to
be sure about a backup, you can create a restore point yourself. Below steps
are for creating a System Restore point manually.
1. Open ‘Start.’
2. Type ‘Create a restore point’ in the search
and hit ‘Enter.’
3. Open the top result to open system
properties.
4. Click the ‘System Protection’ tab to open it.
5. Click on the ‘Create..’ button near the
bottom of the “Protection Settings” section.
6. In the “Create a restore point” window,
enter the restore point name or description.
7. Then click the ‘Create’ button.
8. Click ‘Close’.
9. Click ‘OK.’
A restore point of the current state of your system will create.
Now you have a way to revert the changes if anything goes erroneous while
making changes in Registry, or after installing an application or driver.
Bob Martin is
a self-professed security expert; he has been making the people aware of the
security threats. His passion is to write about Cyber security, cryptography,
malware, social engineering, internet and new media. He writes for Norton security
products at office.com/setup.
Source:- Windows
10

Comments
Post a Comment