How to Fix ‘Start menu/ms-settings’ Not Working on Windows
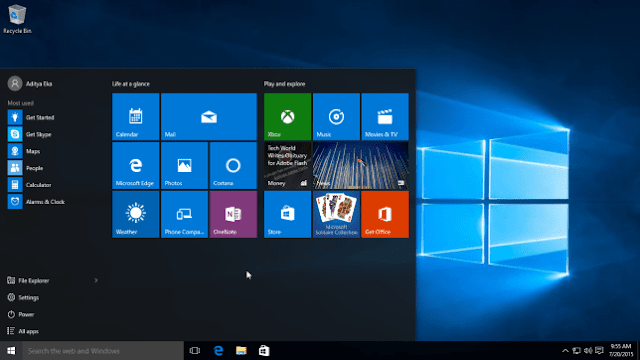
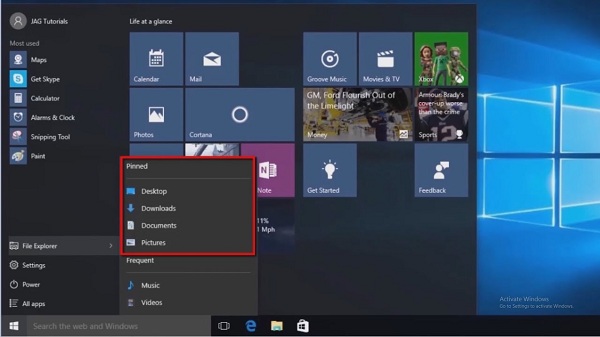
On Windows 10, sometimes there often Start menu / ms-settings
not working issue which prevents users to access the main settings. If you are
facing the same issue on your Windows PC or laptop then you may follow the
methods I have mentioned in this article to fix this issue.
Reinstalling
and registering all UWP apps
You can fix this issue by reinstalling and re-registering all
UWP apps. To do so, follow the steps listed below:
- Click on the Windows and R keys together.
- It will launch the Run prompt box.
- After that, enter “PowerShell” in the
provided field.
- Click on the Control, Shift, and Enter
keys together.
- It will open the Power shell menu.
- You will get the User Account Control
window on the desktop.
- Press on the Yes button.
- After going in the Powershell menu, enter
the below mentioned command:
| Foreach {Add-AppxPackage -DisableDevelopmentMode -Register
“$($_.InstallLocation)\AppXManifest.xml”}
- Click on the reinstall and register
option.
Add a password
to your Windows account
Alternatively, you can also resolve this issue by add a password
to your Windows account. Follow the steps below to do so:
- Launch the Run prompt box by clicking on
the Windows and R keys together
- Enter “cmd” in the provided field.
- Click on the Control, Shift, Enter keys
together.
- It will launch the Command Prompt menu.
- After opening the User Account prompt
menu, press on the Yes button.
- After going in the Command Prompt menu,
enter the below-mentioned command:
net user username password /add
- Click on the Enter button for adding the
password to the user account.
- After that, click on the Windows and R
keys together.
- It will launch any other Run prompt box.
- Enter “control.exe /name
Microsoft.UserAccounts ‘in the provided column.
- Click on the Enter button for opening the
User Account menu.
- After going in the User Account window,
press on the Manage another account option.
- It is located on the right corner of the
screen.
- By going to the Manage Account section,
press on the account where you have to enter the password.
- Press on the Change the account type
option.
- After going in the Change Account Type
option, start changing the account type option into the Administrator
option.
- Press on the Change Account type option
for saving the changes you have done.
- Make sure that you are signed in to the
account.
Deploy DISM and
SFC commands
You can also run SFC and DISM scans on your Windows PC to fix
this issue. Below are the detailed steps listed to run these scans on your PC.
Go through the steps to do:
- Click on the Windows and R keys together.
- These keys launched the Run pop-up box.
- In the Run menu, enter “cmd” in the given
box.
- Click on the Control, Shift, and Enter
keys together.
- It will launch the Command Prompt menu.
- After going in the Command Prompt menu,
enter the below-mentioned command:
sfc /scannow
- Click on the Enter button.
- It will launch the SFC scan option.
- Start the system and check whether this
error is fixed or not.
- After completing the booting sequence,
launch any other command prompt.
- After going in the Command Prompt menu,
enter the below-mentioned command:
DISM /Online
/Cleanup-Image /RestoreHealth
- Click on the Enter button.
- Once you have completed the scanning
process, start the system again, and check if this error is fixed or not.
Davis Johnson is a self-professed security
expert; she has been making the people aware of the security threats. Her
passion is to write about Cybersecurity, cryptography, malware, social
engineering, internet and new media. She writes for Norton security products
at norton.com/setup.
Source:- Windows


Comments
Post a Comment