How to Remotely Connect to a Windows 10 PC?
Microsoft recently
launched its new Remote Desktop app for Windows 10 operating system which can
be available on the Windows Store app. Using this new Remote Desktop app one
can easily connect their computer to any other computer system over an internet
or local network. For successfully connecting a device to another Windows
device remotely, one may need to set up the PC that you are attempting to
forward and access the right port on the router.

In this blog, we will
discuss few simple steps to easily setup your network and PC to allocate remote
desktop connections and also guide you with the steps of How to setup Remote
Desktop app. Well, there are multiple ways available for setting up Remote
Desktop app, but we assist you with best and effective methods which are as
follows:
Set Up Remote Connections to your
Computer System.
Steps to Remotely Connect to a
Windows 10 PC
Underneath are
some simple steps which help you in setting up a new Remote Desktop app to a
Windows 10 PC. However, these steps are quite easy, but we suggest you follow
them in the way it described in the article. Otherwise, it creates lots of
trouble and unwanted errors. Here how to connect it:
Ways to Set Up Remote Connection
to a Windows 10 Computer System
The Remote Desktop app
is a very uncomplicated process. Well, if you are trying to connect a Remote
Desktop connection over internet connection, here is the complete process.
Steps to Turn On Remote
Connection on your Computer System
If any users are
starting a remote desktop connection in their local network, one may need to
ensure that the computer user is trying to access configured to allow to handle
remote desktop. In order to setup a remote computer to accept the remote
connections, you need to follow these steps which are as follows:
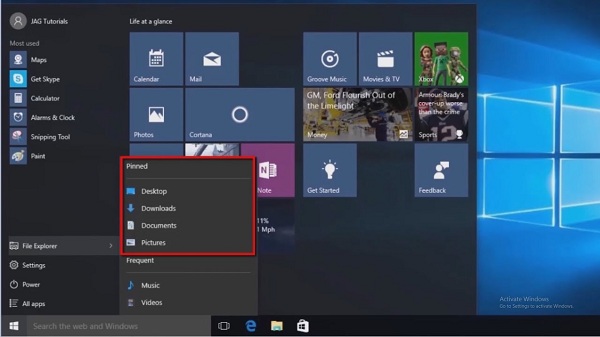
- Click
on the ‘Control Panel’ to launch it on the device screen.
- Tap
on ‘System & Security’ option.
- Now,
press the ‘Allow Remote Desktop Access’ option.
- Ensure
that you have selected the ‘Allow Remote Connections to this Computer’
option in the Remote Desktop app.
- Press
‘OK’ tab followed by the ‘Apply’ button.
- Again,
press the ‘OK’ tab to finish the task.
Once you done with the
steps, your computer system will automatically set up remote connections and
the Windows 10 device will successfully add some essential rules in the Mozilla
Firefox. In the same way, if any user wants to set up a remote desktop using an
internet connection, then one may need to follow the steps which are mentioned
below.
Instructions to Configure Remote
Access Over the Internet Connection
Do you want to access
your PC remotely using the internet connection? You can do it just by setting
up the system properties, for this, set up the local router to allow the remote
connections. Also, users have to know Public IP address to connect your Windows
10 device over the internet connection easily. Know what to do:
Set a Static IP Address for your
Computer System
Mostly computer system
which is within a personal network is allotted dynamic IP addresses, which can
be changed by users anytime when they want. If anyone often using the Remote
Desktop app, it is necessary for them to configure their computer with a Static
IP address. As a result, they don’t need to configure the Port forwarding
settings at the time when your Windows 10 device gets a new IP address for
their devices. Here what to do:
- Launch
‘Control Panel’ on your device.
- Then,
tap on the ‘Network & Internet’ option.
- Press
the ‘Network & Sharing Center’ option.
- On
the ‘Network & Sharing Center’ left page, tap on the ‘Change Adapter
Settings’ link.
- Right-tap
on the ‘Network Adapter’ option and choose ‘Properties’ option.
- After
that, choose ‘Internet Protocol Version 4 (TCP/IPv4) option.
- Tap
on the ‘Properties’ tab.
- Choose
‘Use the Following IP Address’ option located on the ‘General’ tab.
- Now,
provide a valid local IP address which is situated outside of the DHCP
scope to stop IP address clashes in the network.
- Next,
type a subnet mask for the network. Well, most of the home networks are
using the Subnet mask, i.e. 255.255.255.0.
- Alternatively,
provide the default gateway information which is the IP address of your
router.
- In
‘Use the Following DNS Server Addresses’ always remember to type the IP
address of your DNS server which is usually the IP address of your router.
- Tap
on the ‘OK’ tab.
- Finally,
press the ‘Close’ tab for completing the task.
Deam
Jones is a self-professed security expert; he has been making
the people aware of the security threats. His passion is to write about Cyber
security, cryptography, malware, social engineering, internet and new media. He
writes for Norton security products at norton.com/setup.
Source:- Windows
10 PC

Comments
Post a Comment